
Hello printers,
An alumnus has just donated a Vandercook to our university; after saying, “sure, we could use another”, I learned that it is a Universal II power carriage w/ adjustable bed and that owing to the weight of the press, moving it from its former home (the second story of a barn) required dissassembly.
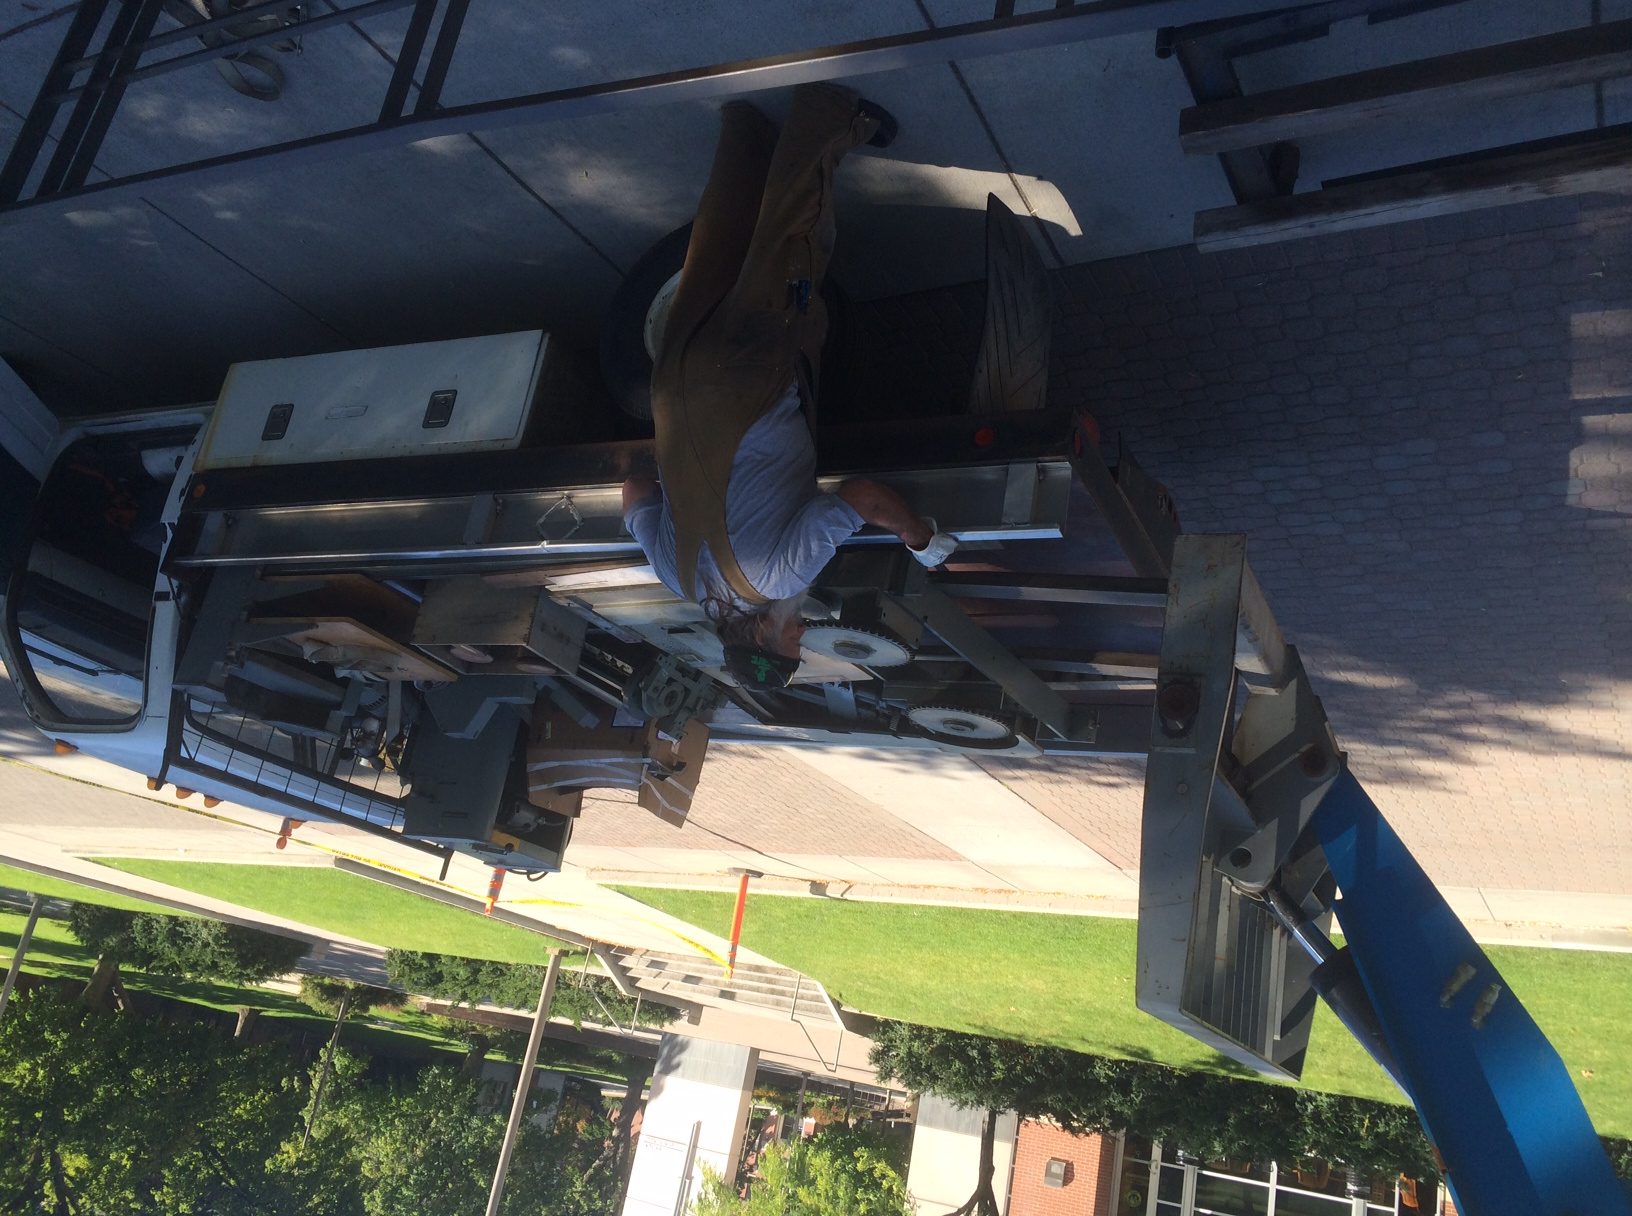
The good news is that we successfully moved everything and now have the large pieces nicely reassembled in the studio (thanks to our U. Idaho machine shop guys!). For school/student use purposes, I don’t need the tower/tapes nor do I want the power carriage. Some of the blog posts make this conversion seem fairly straightforward (attach stub to imp. cylinder then attach handle) and it looks like a new motor on 110V to drive the inking cylinders is not too dificult either (thanks Paul). Oh, for Census purposes it is stamped 19840 and Winard
For a person w/ only SP and Uni I experience, I haven’t figured out the adjustable bed yet (haven’t studied it yet) but recalibrating it seems a bit tricky(?)… (At any point you could suggest getting the 2nd edition of “Vandercook Presses” to address a number of these questions :)
And what is the vacuum pump for? Can I leave this unconnected if I’m essentially going as manual as possible? With so little info on the Uni II should I study the 219 or are these each their own animal?
Any big or complicated issues that a fair level of press experience wouldn’t be able to eventually figure out? Most of the parts have been labeled w/ written and photo instructions, BTW. And it seems very complete (minus a lock-up bar, alas).
Thanks for your input and links,
Mike Sonnichsen
it doesn’t look that heavy on a flatbed truck, but it is a bear.

The Vandercook manuals recommend Molykote Z, but this is expensive and not commonly found. Instead use a heavy-duty penetrating grease, such as ZEP 2000.
To calibrate bed height, place type-high material in the bed and use the hand wheel to make level with the bed bearers. To eliminate backlash (or play) in the gearing, make the final adjustment by turning the hand wheel clockwise. The indicator wire should read 0.918”. If not, then adjust the scale to match the wire.
Yes, there was a tiny bit of rust between the adjustable bed wedges (which I can knock down); what would be the lubricant of choice (and/or tips on re-settingthe gage wire)? And since I haven’t seen this together/working, (and am reassembling it for manual operation) I’m guessing I won’t need the undercarriage reciprocating arm (nor any of the chain + power drive wheels–possibly wrong terminology).
Thanks,
Mike
A pity about the surplus.
The “under” carriage parts that you should need are the bearings for the center rail under bed casting.
Except for the trip wedge cams, the print/trip impression cylinder eccentric and the inking assembly (except the ink drum) are built into the carriage.
Thanks Paul, I’m pretty sure that because this is a donation, I can’t sell or dispose of parts in any way even if they will just be in mothballs. I’m wondering (at first crazy glance) whether the “under”carriage pieces would be needed in a manual conversion (if I could find a way to tie the sides together, it could save a good deal of weight?) or will they be needed to lift the inking section & imp. cylinder on the return pass?
So much to learn about this machine…
Mike
Congratulations on getting this beast moved and reassembled. I can find a home for the tapes tower and perhaps the carriage motor.
The adjustable bed tapers may need cleaning and lubricating. This would ensure that it is balanced to the press.
The Universal II is indeed a hybrid. It has the “quick change” ‘inking assembly like other Universal models, but the cylinder eccentric, gripper bar, cabinet, power controls and powertrain like the 219 P.
The vacuum pump was connected to a plate base for proving photoengravings without the need for toggle clips.