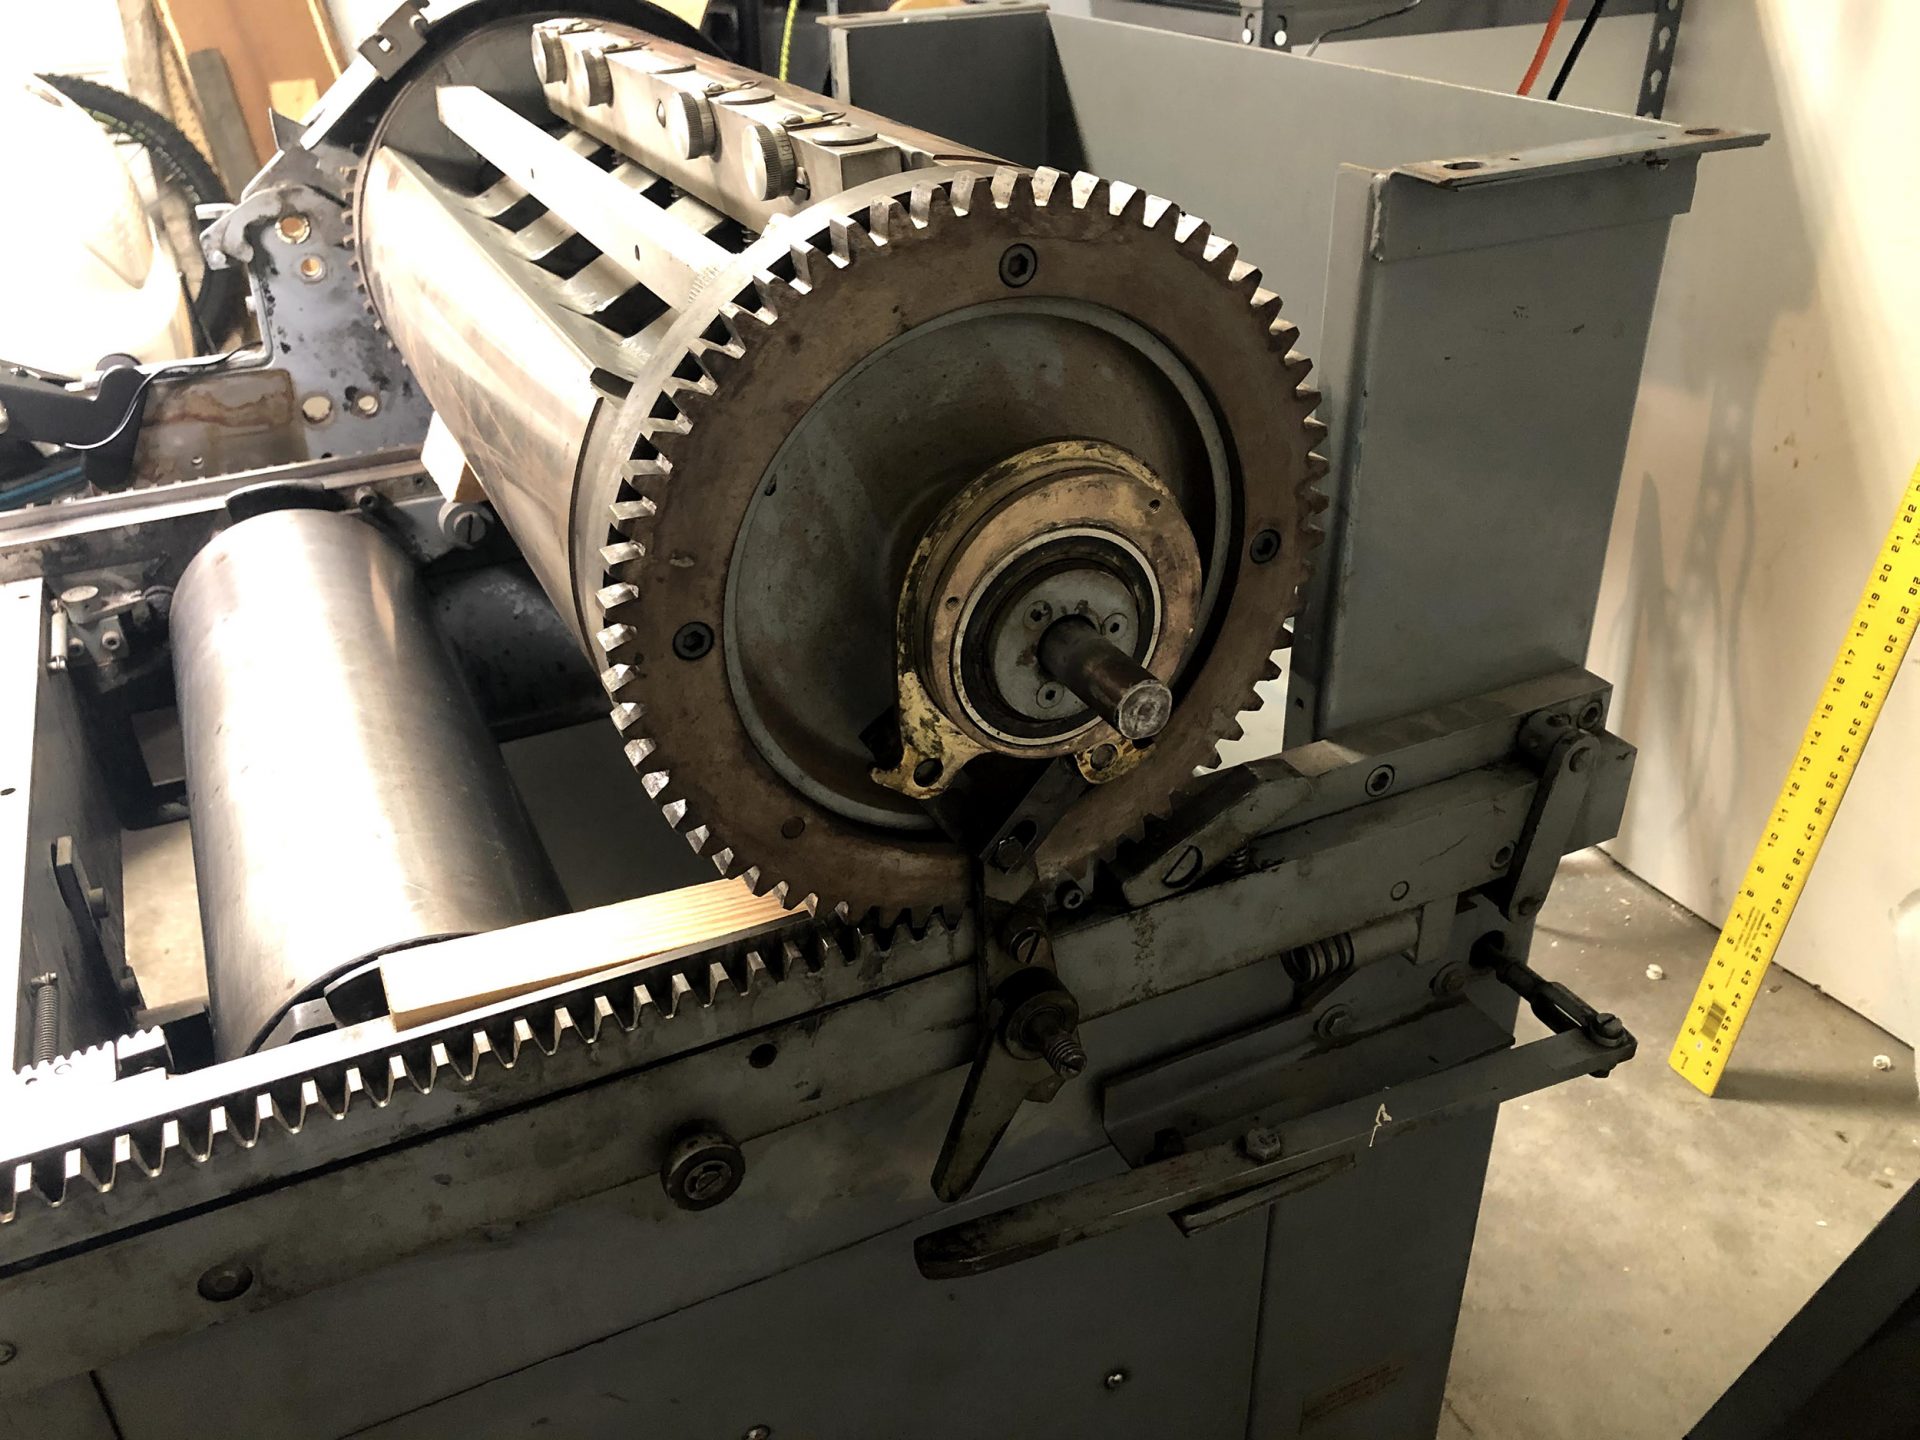
I recently acquired a Vandercook SP-20 in great need of restoration. I’ll be tackling this project over the coming months and will be posting progress and questions as I go along. Luckily, I have most of the major parts!
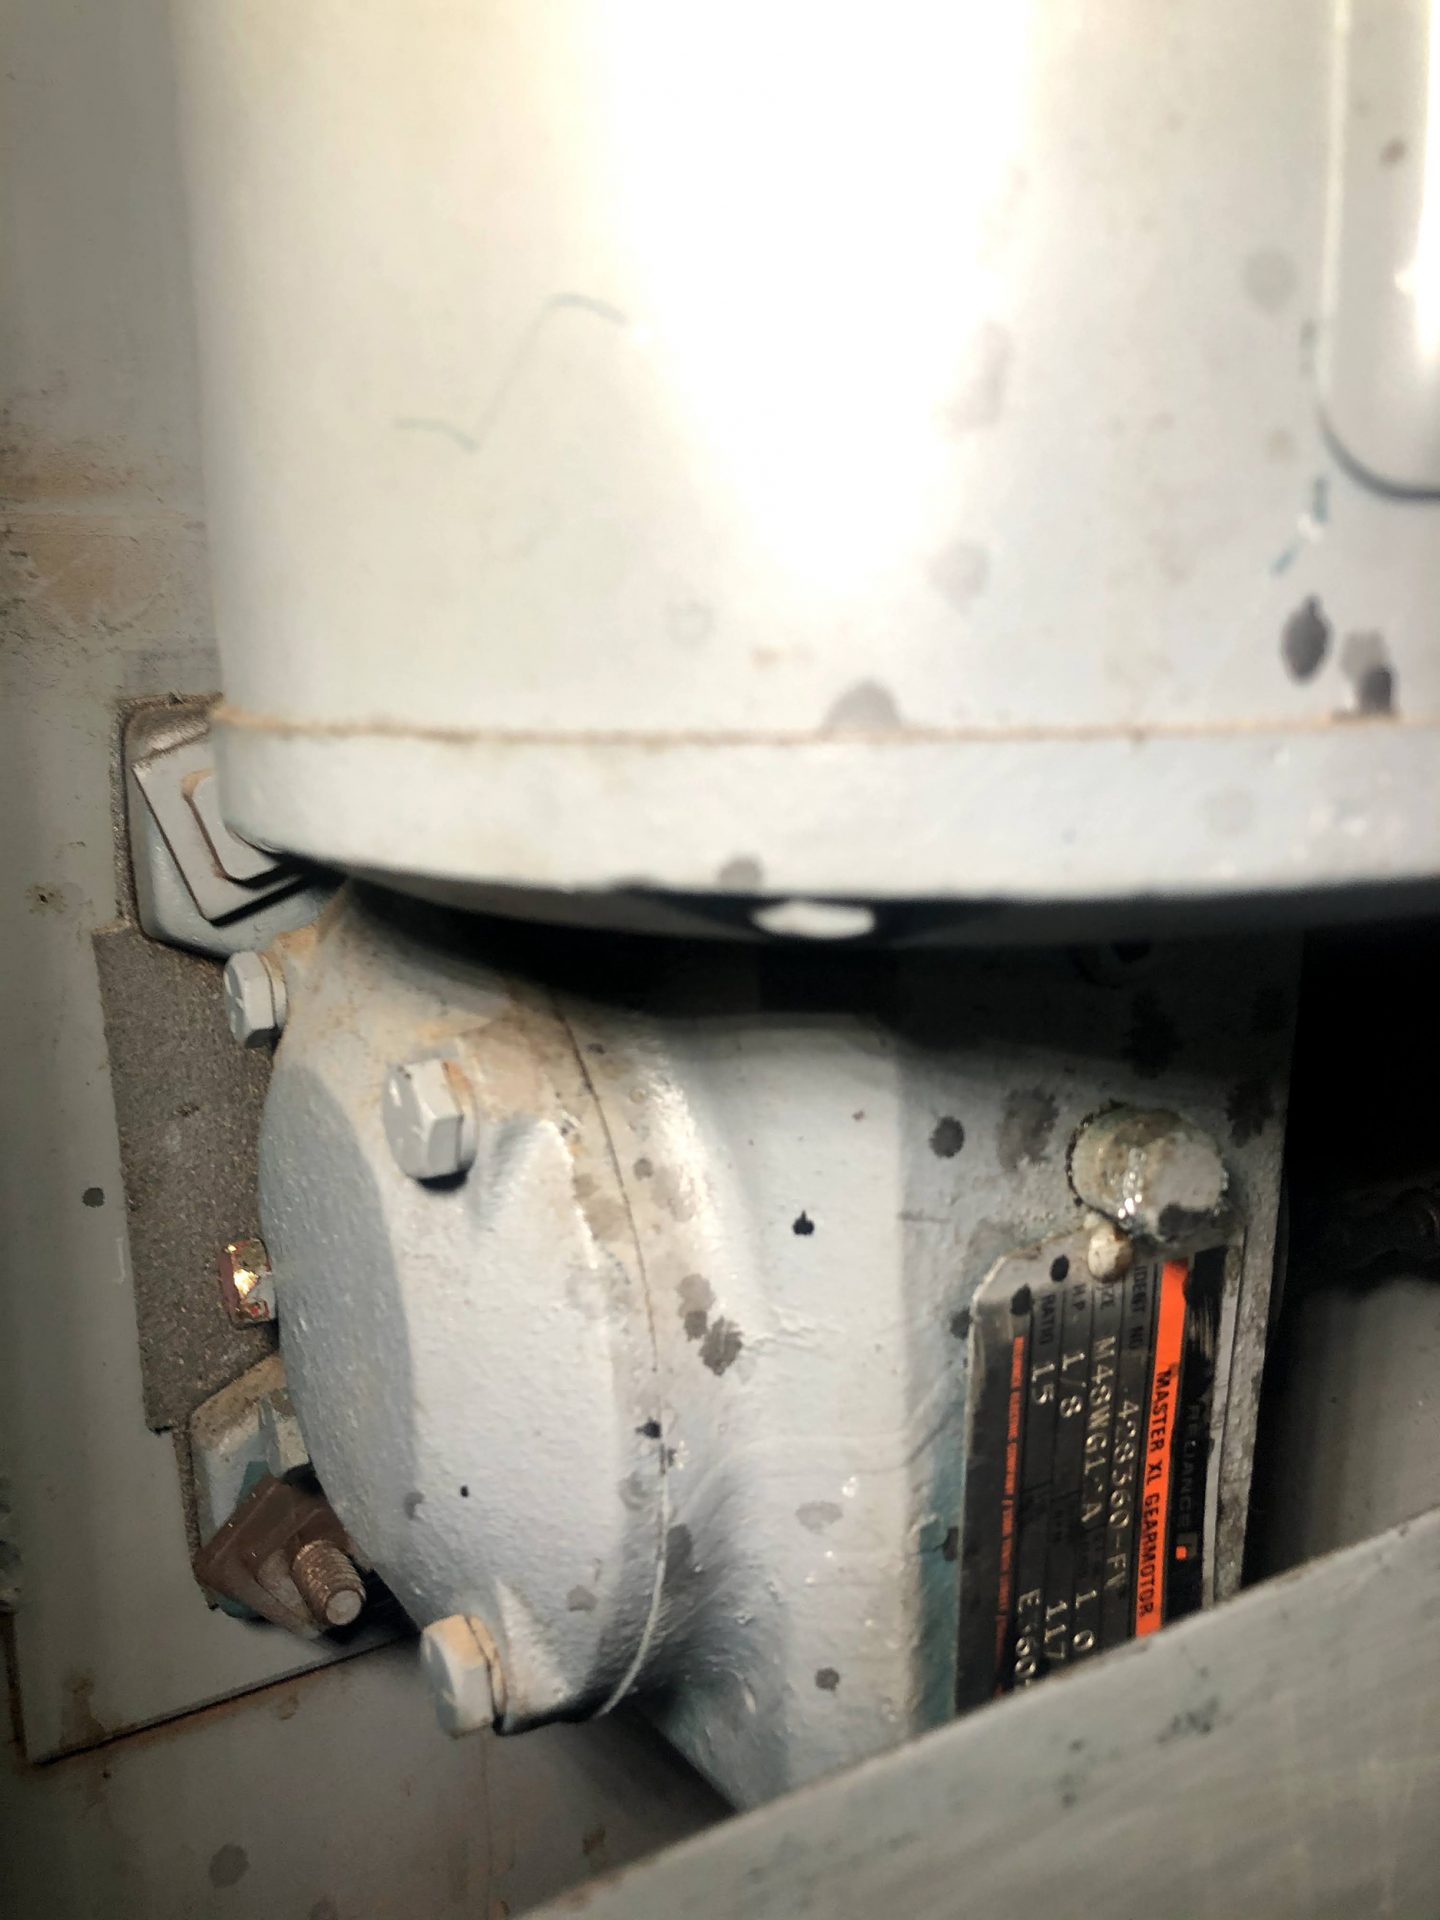
I decided to start with some low-hanging fruit: check to see if the motor had any oil in it. My motor’s threaded plugs are in slightly different locations than the diagram in the book. One is painted red and is slightly lower than the one that’s easiest to reach. Can I assume that the easier to reach (front) plug is for adding oil and the harder to reach (red plug) is for checking oil since it’s lower? I tried unscrewing it and it’s pretty stuck, so letting it sit with some penetrating oil.
If it is dry, does anyone have an idea of approximately how much oil I would need to add? I need to wire a plug to this press yet and so can’t run it and don’t want to over-fill it either.
I’ve included 2 pictures of the overall state of the press upon arrival [it’s a project!] and close-up for the motor plugs.


Thank you!

Like many other presses, Vandercooks were designed with cheapest, most efficient assembly in mind, not later repair. I hate to think how often I have spent time on my knees with a mirror in one hand and a tool in the other and maybe a small flashlight between my teeth, trying to figure out which way to turn a screw in some dark recess.
It turns out there isn’t a plug under the front plug (behind the metal cabinet wall) like we all thought. The red painted plug near the back IS the plug to check the oil level. I finally got the correct sized wrench and opened it up and oil started oozing out. It had black flecks in it though. Makes me think I should bleed it and replace with fresher oil.
Thank you Eric for the suggestions. I actually read through some of your SP20 posts this morning for some tips to help me.
Though I once had a SP-20, I have no experience of such a disassembly. I will recommend a couple tools I did not have when I had the SP-20: first, there are small USB cameras that can connect to laptop or smartphone and give a view of otherwise hidden recesses. There are also extension mirrors with LCD lighting.
I’ve seen a notched shelf on a couple of ocasions. It’s best done by removing it first.
It’s possible that the red bolt was used as a plug
Does anyone ever make a cut out so you can access that “inaccessible” bolt? I don’t know how I would get at it. I can’t even see it with a lamp shining down there. Do you know what the red plug is for?
Especially, thanks for that advice on how best to tackle eccentric reassemble! I like the idea of rebuilding the side plate. I’ve been a little unsure of the order of operation for a few of the items. I’ll likely write a post soon about what’s the best order to assemble some of the items.
Thank you Paul!
That red-painted bolt head is not an oil plug. Like the add plug, the level plug is on the front below the label but is hidden by the shelf. (Why Vandercook made it difficult to access is unknown. Over the years, Fritz and I have complained about this and other engineering decisions they made.)
As to reassembling the cylinder eccentric, I have always rebuilt them on the sideplate. That way, every component can be thoroughly cleaned and lubricated, and it is easier to install the leaf-type trip spring. However, it may be possible to reassemble with the eccentric on the impression cylinder but you’ll find fastening the side plate to the eccentric will be difficult. (It would be impossible with the earlier coil spring design.)